Update 25/03/2017: I’ve combined this PhotoSwipe implementation with a shortcode that generates a responsive css gallery of all the images in a directory - see Hugo Easy Gallery.
There are various solutions for implementing PhotoSwipe in Hugo, including HugoPhotoSwipe and Tom Helmer’s blog post, but they all require you group all your images in the once place on the page.
What I wanted was:
- A lightbox/carousel-style image gallery that loads all of the images in my post, regardless of where in the post they appear;
- Works with any existing images I’ve embedded using the
figureshortcode without me having to change anything; and - Does not require me to pre-define the image sizes;
I couldn’t find a ready-made solution that met my requirements, so I made my own.
All the code in this post is available on GitHub.
New figure shortcode
If all your existing figures already have a link that points to a larger version of the image, then actually Hugo’s built-in figure shortcode will work just fine. But if not, we can override the built-in figure shortcode to make it work better with PhotoSwipe:
Put this file in /layouts/shortcodes/figure.html:
<figure {{ with .Get "class" }}class="{{.}}"{{ end }} itemprop="associatedMedia" itemscope itemtype="http://schema.org/ImageObject">
    <a href="{{ with .Get "link" }}{{.}}{{ else }}{{ .Get "src" }}{{ end }}" {{ with .Get "size" }}data-size="{{.}}"{{ end }} itemprop="contentUrl">
        <img itemprop="thumbnail"
            src="{{ with .Get "src" }}{{.}}{{ else }}{{ printf "%s." (.Get "thumb") | replace (.Get "link") "." }}{{ end }}"
            {{ if or (.Get "alt") (.Get "caption") }}alt="{{ with .Get "alt" }}{{.}}{{else}}{{ .Get "caption" }}{{ end }}"{{ end }}
            {{ with .Get "width" }}width="{{.}}"{{ end }}/>
    </a>
    {{ if or (or (.Get "title") (.Get "caption")) (.Get "attr")}}
    <figcaption>
        {{ with .Get "title" }}<h4>{{.}}</h4>{{ end }}
        {{ if or (.Get "caption") (.Get "attr")}}
        <p>
        {{ .Get "caption" }}
        {{ with .Get "attrlink"}}<a href="{{.}}">{{ .Get "attr" }}</a>{{ else }}{{ .Get "attr"}}{{ end }}
        </p>
        {{ end }}
    </figcaption>
    {{ end }}
</figure>
This new shortcode accepts two new parameters size and thumb, and behaves differently as follows:
{{< figure src="/img/homepage/cc_jeepers.jpg" >}}
does the same as normal, but with a hyperlink to itself:

{{< figure link="/img/homepage/cc_jeepers.jpg" thumb="-thumb" >}}
will display /img/homepage/cc_jeepers-thumb.jpg and a hyperlink to /img/homepage/cc_jeepers.jpg:
That’s already kind of useful by itself, but wait, there’s more…
Shortcode to enable PhotoSwipe
To initialise PhotoSwipe we need to add some html and include the PhotoSwipe css/js libraries, which we’ll do by creating a pswp-init shortcode and calling it anywhere on the page/post where you want to use PhotoSwipe. Note the bulk of this file is as per the PhotoSwipe getting started docs, except that I’m linking the PhotoSwipe css/js libraries from a CDN.
Put this file in /layouts/shortcodes/pswp-init.html:
<!-- Photoswipe css/js libraries -->
<link rel="stylesheet" href="https://cdnjs.cloudflare.com/ajax/libs/photoswipe/4.1.1/photoswipe.min.css" integrity="sha256-sCl5PUOGMLfFYctzDW3MtRib0ctyUvI9Qsmq2wXOeBY=" crossorigin="anonymous" />
<link rel="stylesheet" href="https://cdnjs.cloudflare.com/ajax/libs/photoswipe/4.1.1/default-skin/default-skin.min.css" integrity="sha256-BFeI1V+Vh1Rk37wswuOYn5lsTcaU96hGaI7OUVCLjPc=" crossorigin="anonymous" />
<script src="https://cdnjs.cloudflare.com/ajax/libs/photoswipe/4.1.1/photoswipe.min.js" integrity="sha256-UplRCs9v4KXVJvVY+p+RSo5Q4ilAUXh7kpjyIP5odyc=" crossorigin="anonymous"></script>
<script src="https://cdnjs.cloudflare.com/ajax/libs/photoswipe/4.1.1/photoswipe-ui-default.min.js" integrity="sha256-PWHOlUzc96pMc8ThwRIXPn8yH4NOLu42RQ0b9SpnpFk=" crossorigin="anonymous"></script>

<!-- Root element of PhotoSwipe. Must have class pswp. -->
<div class="pswp" tabindex="-1" role="dialog" aria-hidden="true">
<!-- Background of PhotoSwipe.
     It's a separate element, as animating opacity is faster than rgba(). -->
<div class="pswp__bg"></div>
<!-- Slides wrapper with overflow:hidden. -->
<div class="pswp__scroll-wrap">
    <!-- Container that holds slides.
      PhotoSwipe keeps only 3 of them in DOM to save memory.
      Don't modify these 3 pswp__item elements, data is added later on. -->
    <div class="pswp__container">
      <div class="pswp__item"></div>
      <div class="pswp__item"></div>
      <div class="pswp__item"></div>
    </div>
    <!-- Default (PhotoSwipeUI_Default) interface on top of sliding area. Can be changed. -->
    <div class="pswp__ui pswp__ui--hidden">
    <div class="pswp__top-bar">
      <!--  Controls are self-explanatory. Order can be changed. -->
      <div class="pswp__counter"></div>
      <button class="pswp__button pswp__button--close" title="Close (Esc)"></button>
      <button class="pswp__button pswp__button--share" title="Share"></button>
      <button class="pswp__button pswp__button--fs" title="Toggle fullscreen"></button>
      <button class="pswp__button pswp__button--zoom" title="Zoom in/out"></button>
      <!-- Preloader demo http://codepen.io/dimsemenov/pen/yyBWoR -->
      <!-- element will get class pswp__preloader--active when preloader is running -->
      <div class="pswp__preloader">
        <div class="pswp__preloader__icn">
          <div class="pswp__preloader__cut">
            <div class="pswp__preloader__donut"></div>
          </div>
        </div>
      </div>
    </div>
    <div class="pswp__share-modal pswp__share-modal--hidden pswp__single-tap">
      <div class="pswp__share-tooltip"></div>
    </div>
    <button class="pswp__button pswp__button--arrow--left" title="Previous (arrow left)">
    </button>
    <button class="pswp__button pswp__button--arrow--right" title="Next (arrow right)">
    </button>
    <div class="pswp__caption">
      <div class="pswp__caption__center"></div>
    </div>
    </div>
    </div>
</div>

<!--jQuery must be loaded before you load init-pswp.js; If your template already loads jQuery in the header then you don't need to load it again here; if your template already loads jQuery in the footer, then you could load init-pswp.js there instead so you don't load jQuery twice (although as long as you're loading jQuery from the same source it doesn't matter if you load it twice) -->
<script src="https://code.jquery.com/jquery-1.12.4.min.js" integrity="sha256-ZosEbRLbNQzLpnKIkEdrPv7lOy9C27hHQ+Xp8a4MxAQ=" crossorigin="anonymous"></script>
<script src="/js/pswp-init.js"></script>
Right at the end, we link to jQuery, and then a js and a css file. If you wanted to, you could put the js and css below in a <script> and a <style> tag so it’s all contained in the shortcode file, but I prefer to keep my js and css in separate files.
The JavaScript
This script runs once the page is loaded, and does three things:
- Create an array of slide objects from all the figures on the page.
- If
sizewasn’t pre-defined, load the image to determine its size - Binds click event to links/thumbnails to activate PhotoSwipe
Put this file in /static/js/pswp-init.js:
$( document ).ready(function() {
  var items = []; // array of slide objects that will be passed to PhotoSwipe()
  // for every figure element on the page:
  $('figure').each( function() {
    // get properties from child a/img/figcaption elements,
    var $figure = $(this),
      $a    = $figure.find('a'),
      $src  = $a.attr('href'),
      $title  = $figure.find('figcaption').html(),
      $msrc = $figure.find('img').attr('src');
    // if data-size on <a> tag is set, read it and create an item
    if ($a.data('size')) {
      var $size   = $a.data('size').split('x');
      var item = {
        src   : $src,
        w   : $size[0],
        h     : $size[1],
        title   : $title,
        msrc  : $msrc
      };
    // if not, set temp default size then load the image to check actual size
    } else {
      var item = {
        src   : $src,
        w   : 800, // temp default size
        h     : 600, // temp default size
        title   : $title,
        msrc  : $msrc
      };
      // load the image to check its dimensions
      // update the item as soon as w and h are known (check every 30ms)
      var img = new Image();
      img.src = $src;
      var wait = setInterval(function() {
        var w = img.naturalWidth,
          h = img.naturalHeight;
        if (w && h) {
          clearInterval(wait);
          item.w = w;
          item.h = h;
        }
      }, 30);
      }
    // Save the index of this image then add it to the array
    var index = items.length;
    items.push(item);
    // Event handler for click on a figure
    $figure.on('click', function(event) {
      event.preventDefault(); // prevent the normal behaviour i.e. load the <a> hyperlink
      // Get the PSWP element and initialise it with the desired options
      var $pswp = $('.pswp')[0];
      var options = {
        index: index,
        bgOpacity: 0.8,
        showHideOpacity: true
      }
      new PhotoSwipe($pswp, PhotoSwipeUI_Default, items, options).init();
    });
  });
});
Demo with individual images
With the pswp-init shortcode called, our image should now show a carousel when clicked:
{{< figure link="/img/homepage/cc_jeepers.jpg" thumb="-thumb" >}}:
Note that the large image was already loaded - this is because we didn’t pre-define the image size, so the script had to load the image to check its size. If we pre-define the size, your browser won’t need to load it until you click on it (or any other image). We can also include a caption.
Sydney Harbour
{{< figure link="/img/homepage/sydney-harbour.jpg" thumb="-thumb" size="1920x928" caption="Sydney Harbour" >}}:
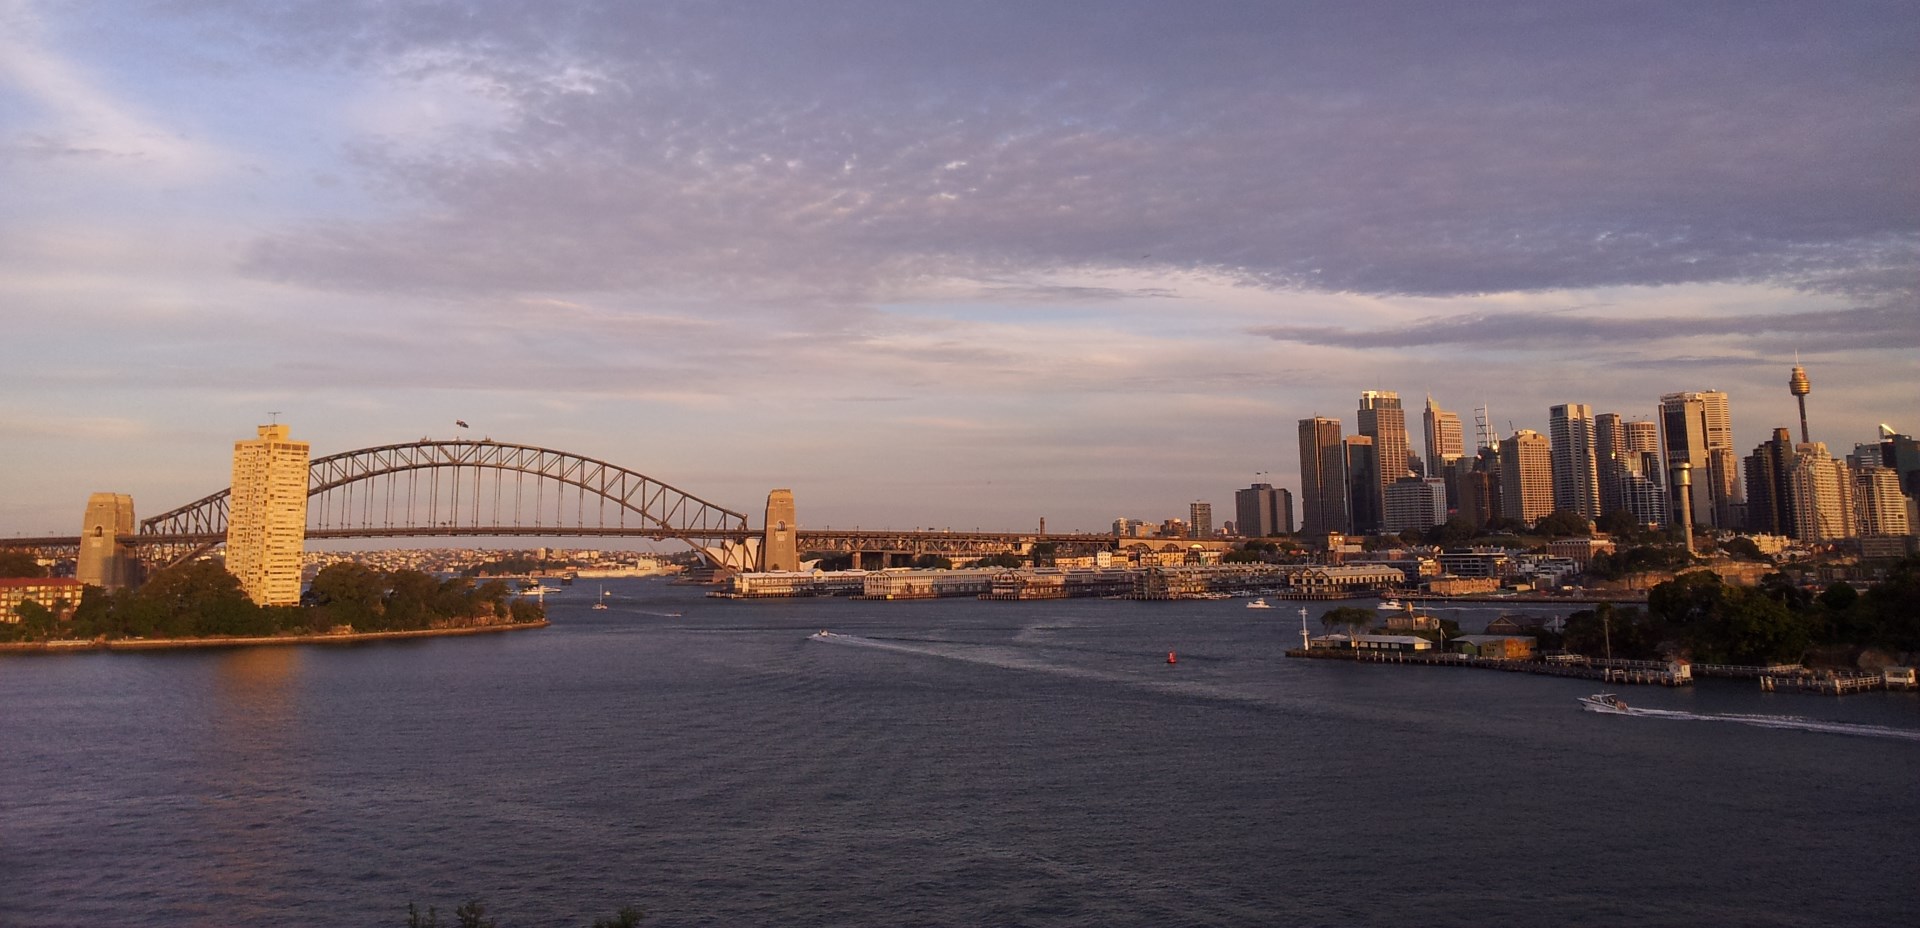
If you refresh the page and then click on the image above, you’ll see it is pixellated for a litle while whilst it loads.
You could argue that it’s better to avoid pre-loading the images just to get their dimensions, but I’d argue it doesn’t really matter because PhotoSwipe pre-loads all of the images as soon as you activate it (i.e. the first time you click on an image).
One last shortcode to make a gallery
But what if you do want a bunch of thumbnails all together in a box?
Don’t worry, we can do that too. Here’s the code:
Put this file in /layouts/shortcodes/gallery.html:
<div class="gallery" itemscope itemtype="http://schema.org/ImageGallery">
{{ .Inner }}
<div class="title">{{ .Get "title" }}</div>
</div>
<link rel="stylesheet" href="/css/pswp-gallery.css" />
Put this file in /static/css/pswp-gallery.js:
.gallery {
  float: none;
  border: 1px solid lightgrey;
  padding: 10px;
  margin: 0px 0px 10px 10px;
}
.gallery .title{
  text-align: center;
  clear:left;
  //border-top: 1px solid lightgrey;
}
.gallery img {
  width: 100%;
  height: auto;
}
.gallery figure {
  display: block;
  float: left;
  margin: 0 5px 5px 0;
}
.gallery figcaption {
  display: none;
}
figcaption {
  font-size: 75%;
}
Demo Gallery
Hugo shortcodes:
{{< gallery title="Pictures from my Arduino post" >}}
{{< figure link="/img/arduino/garage-opener.jpg" thumb="-thumb" size="600x800" caption="Garage remote" >}}
{{< figure link="/img/arduino/garage-opener-inside.jpg" thumb="-thumb" size="800x600" caption="Garage remote showing EV1527 chipset" >}}
{{< figure link="/img/arduino/ms-front.jpg" thumb="-thumb" size="600x800" caption="RC mains switch - front" >}}
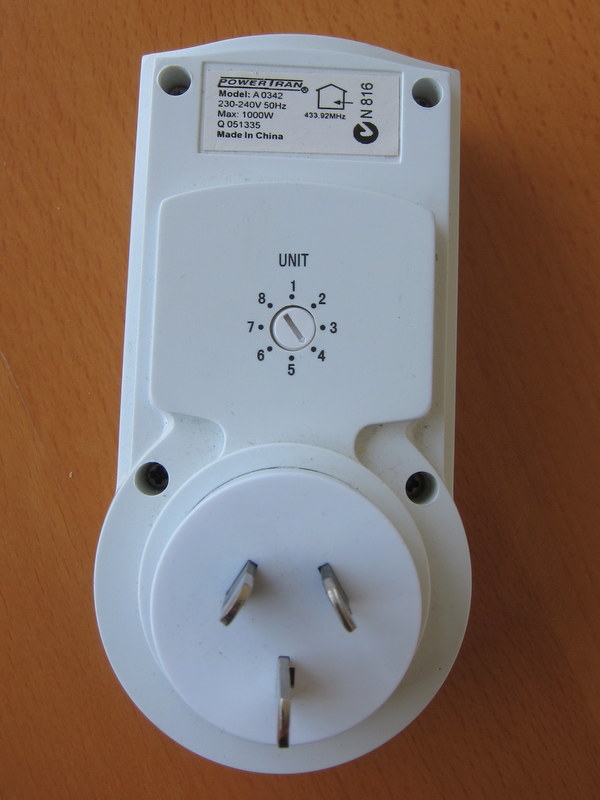
{{< figure link="/img/arduino/ms-rear.jpg" thumb="-thumb" size="600x800" caption="RC mains switch - back showing PowerTran model A0342" >}}
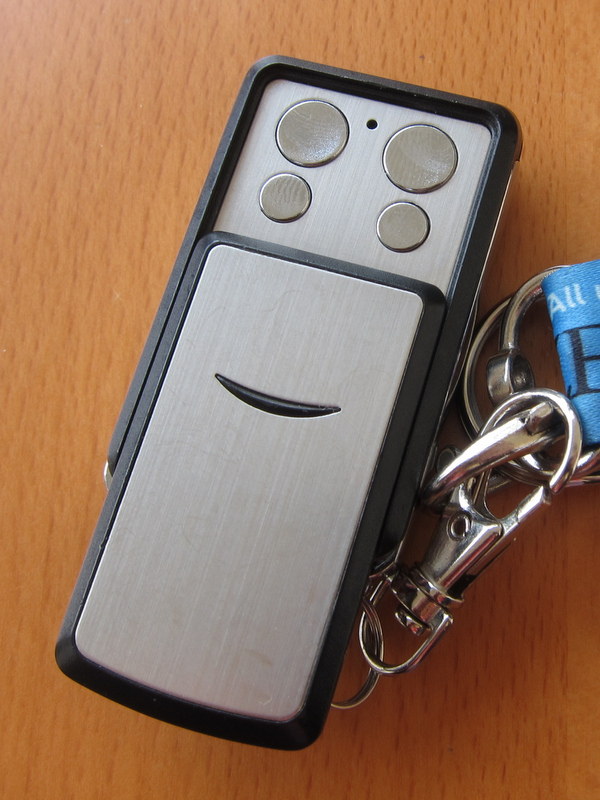
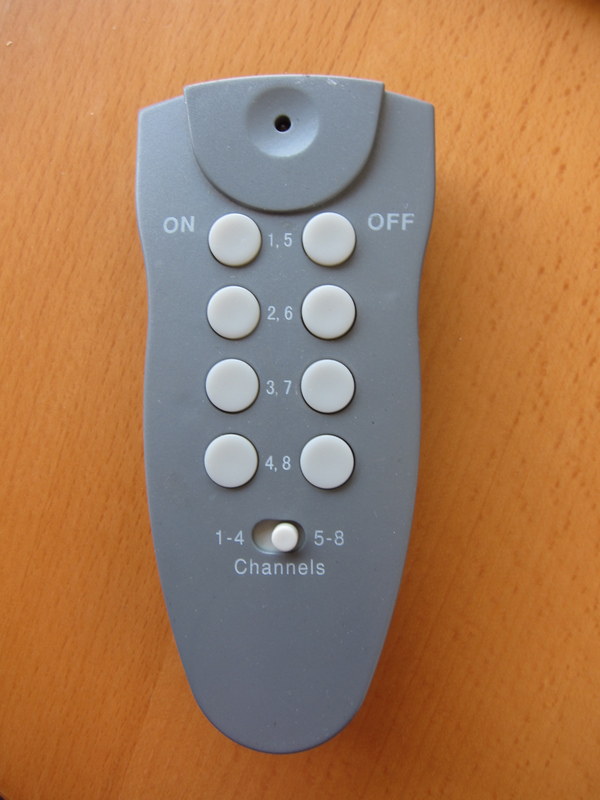
{{< figure link="/img/arduino/ms-remote.jpg" thumb="-thumb" size="600x800" caption="RC mains switch remote" >}}
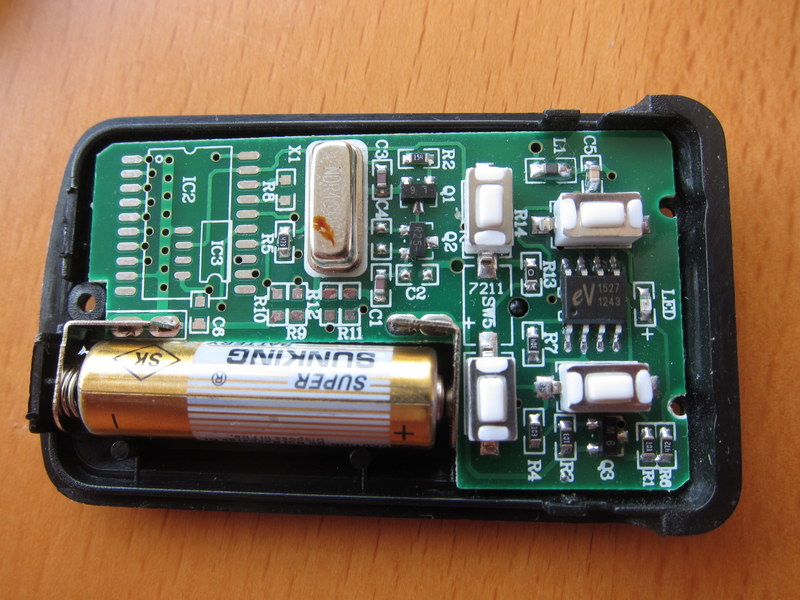
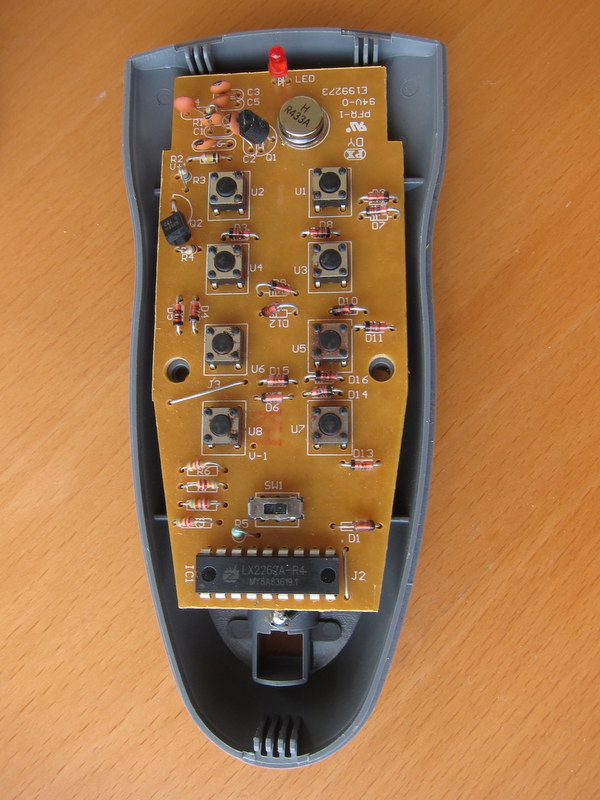
{{< figure link="/img/arduino/ms-remote-inside.jpg" thumb="-thumb" size="600x800" caption="RC mains switch remote showing LX2262A-R4 chipset" >}}
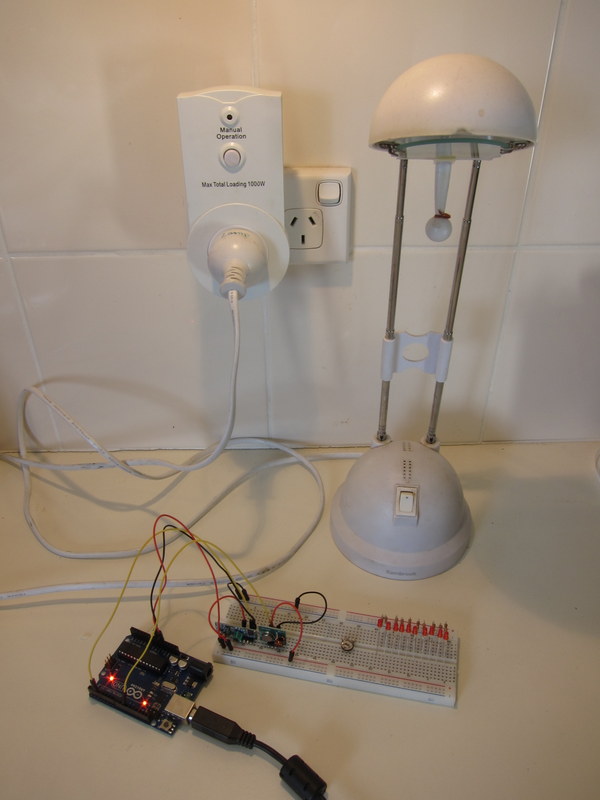
{{< figure link="/img/arduino/lamp-setup.jpg" thumb="-thumb" size="600x800" caption="Test setup with lamp" >}}
{{< /gallery >}}
Result:
Garage remote
Garage remote showing EV1527 chipset
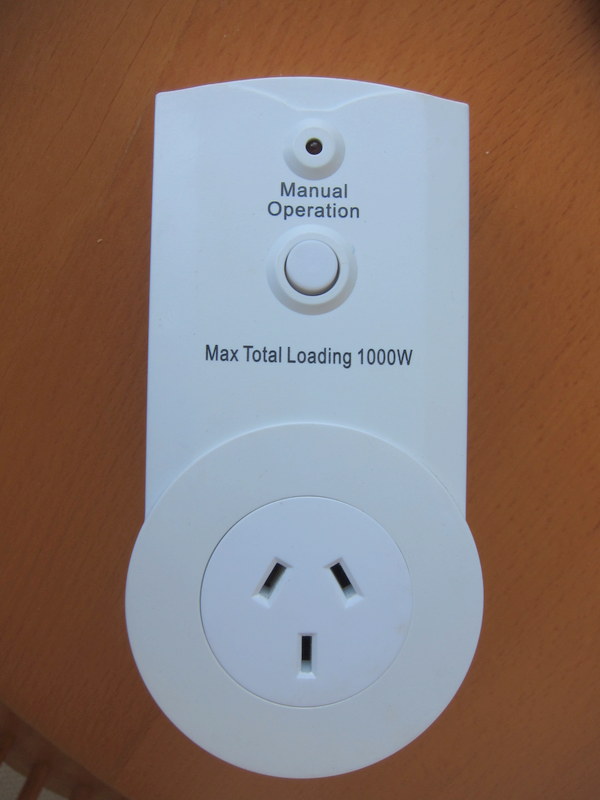
RC mains switch - front
RC mains switch - back showing PowerTran model A0342
RC mains switch remote
RC mains switch remote showing LX2262A-R4 chipset
Test setup with lamp
Don’t forget
to call {{< pswp-init >}} somewhere on the page!
Credits
Thanks to Tom Helmer and Thoriq Firdaus for their blog posts which helped me with this post.